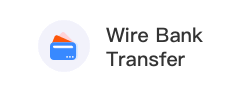
1. Log in to our official website, click on "Professional Email" under the Cloud Products section to enter the dedicated page.

2. There are two methods to create a professional email account:
Method 1:
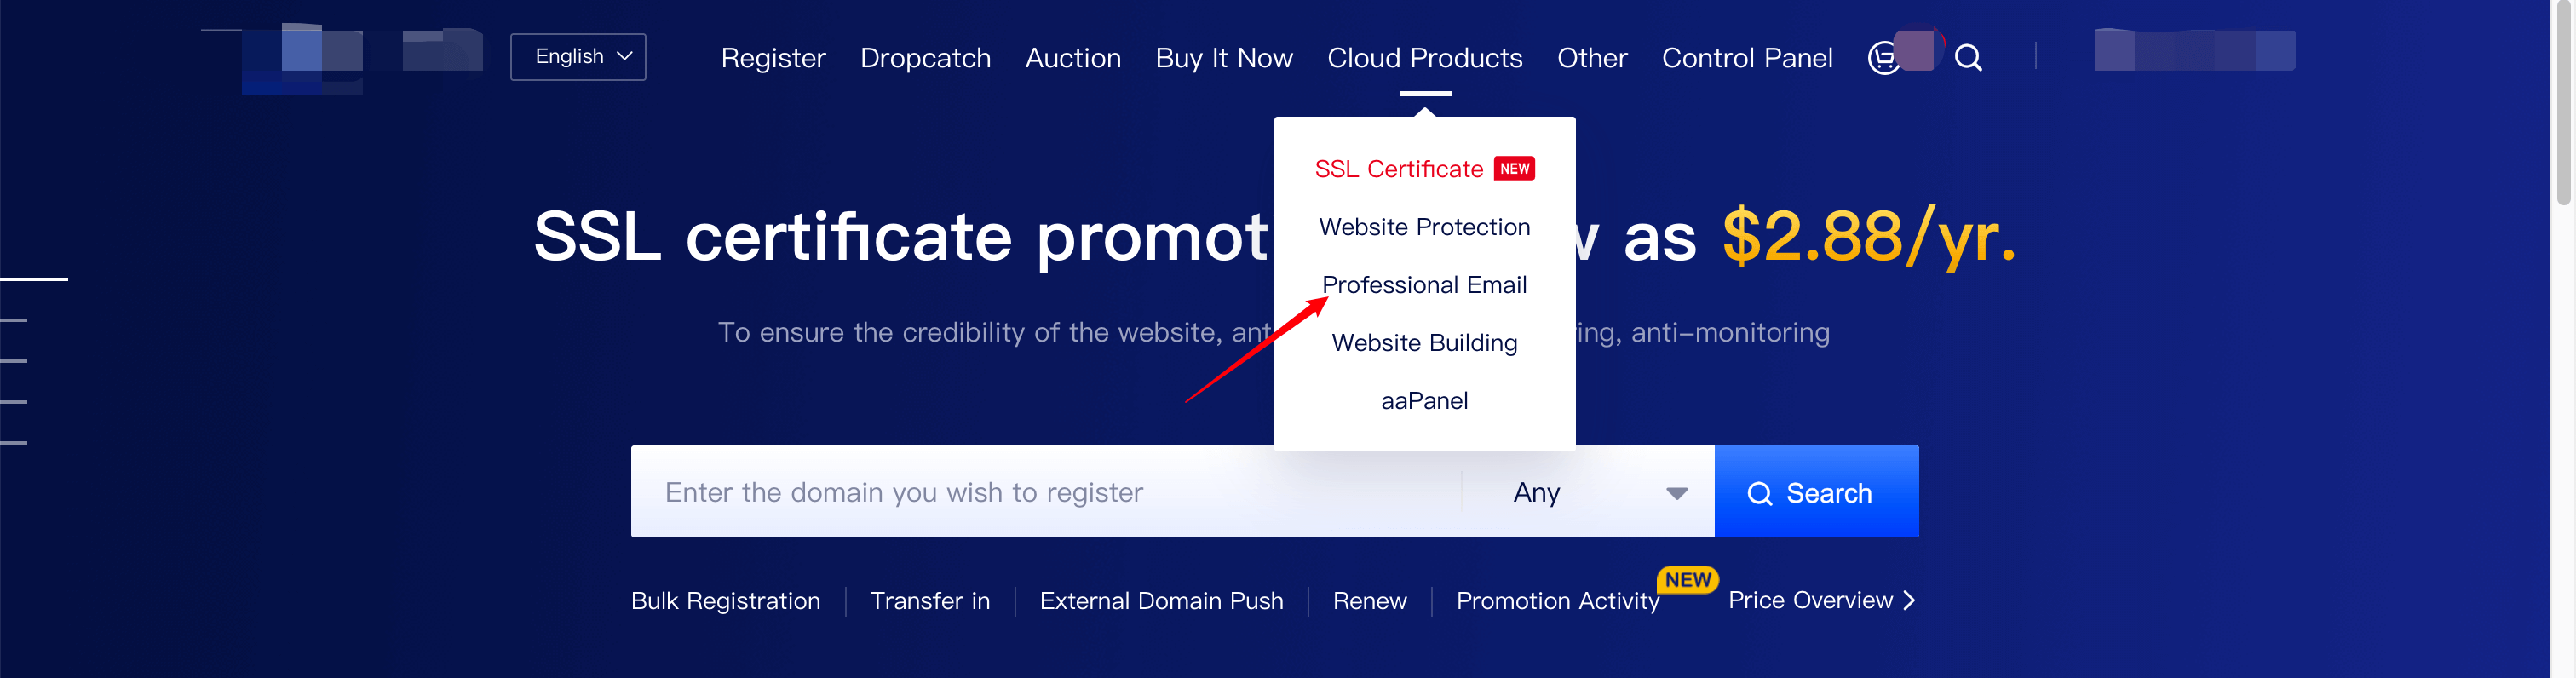
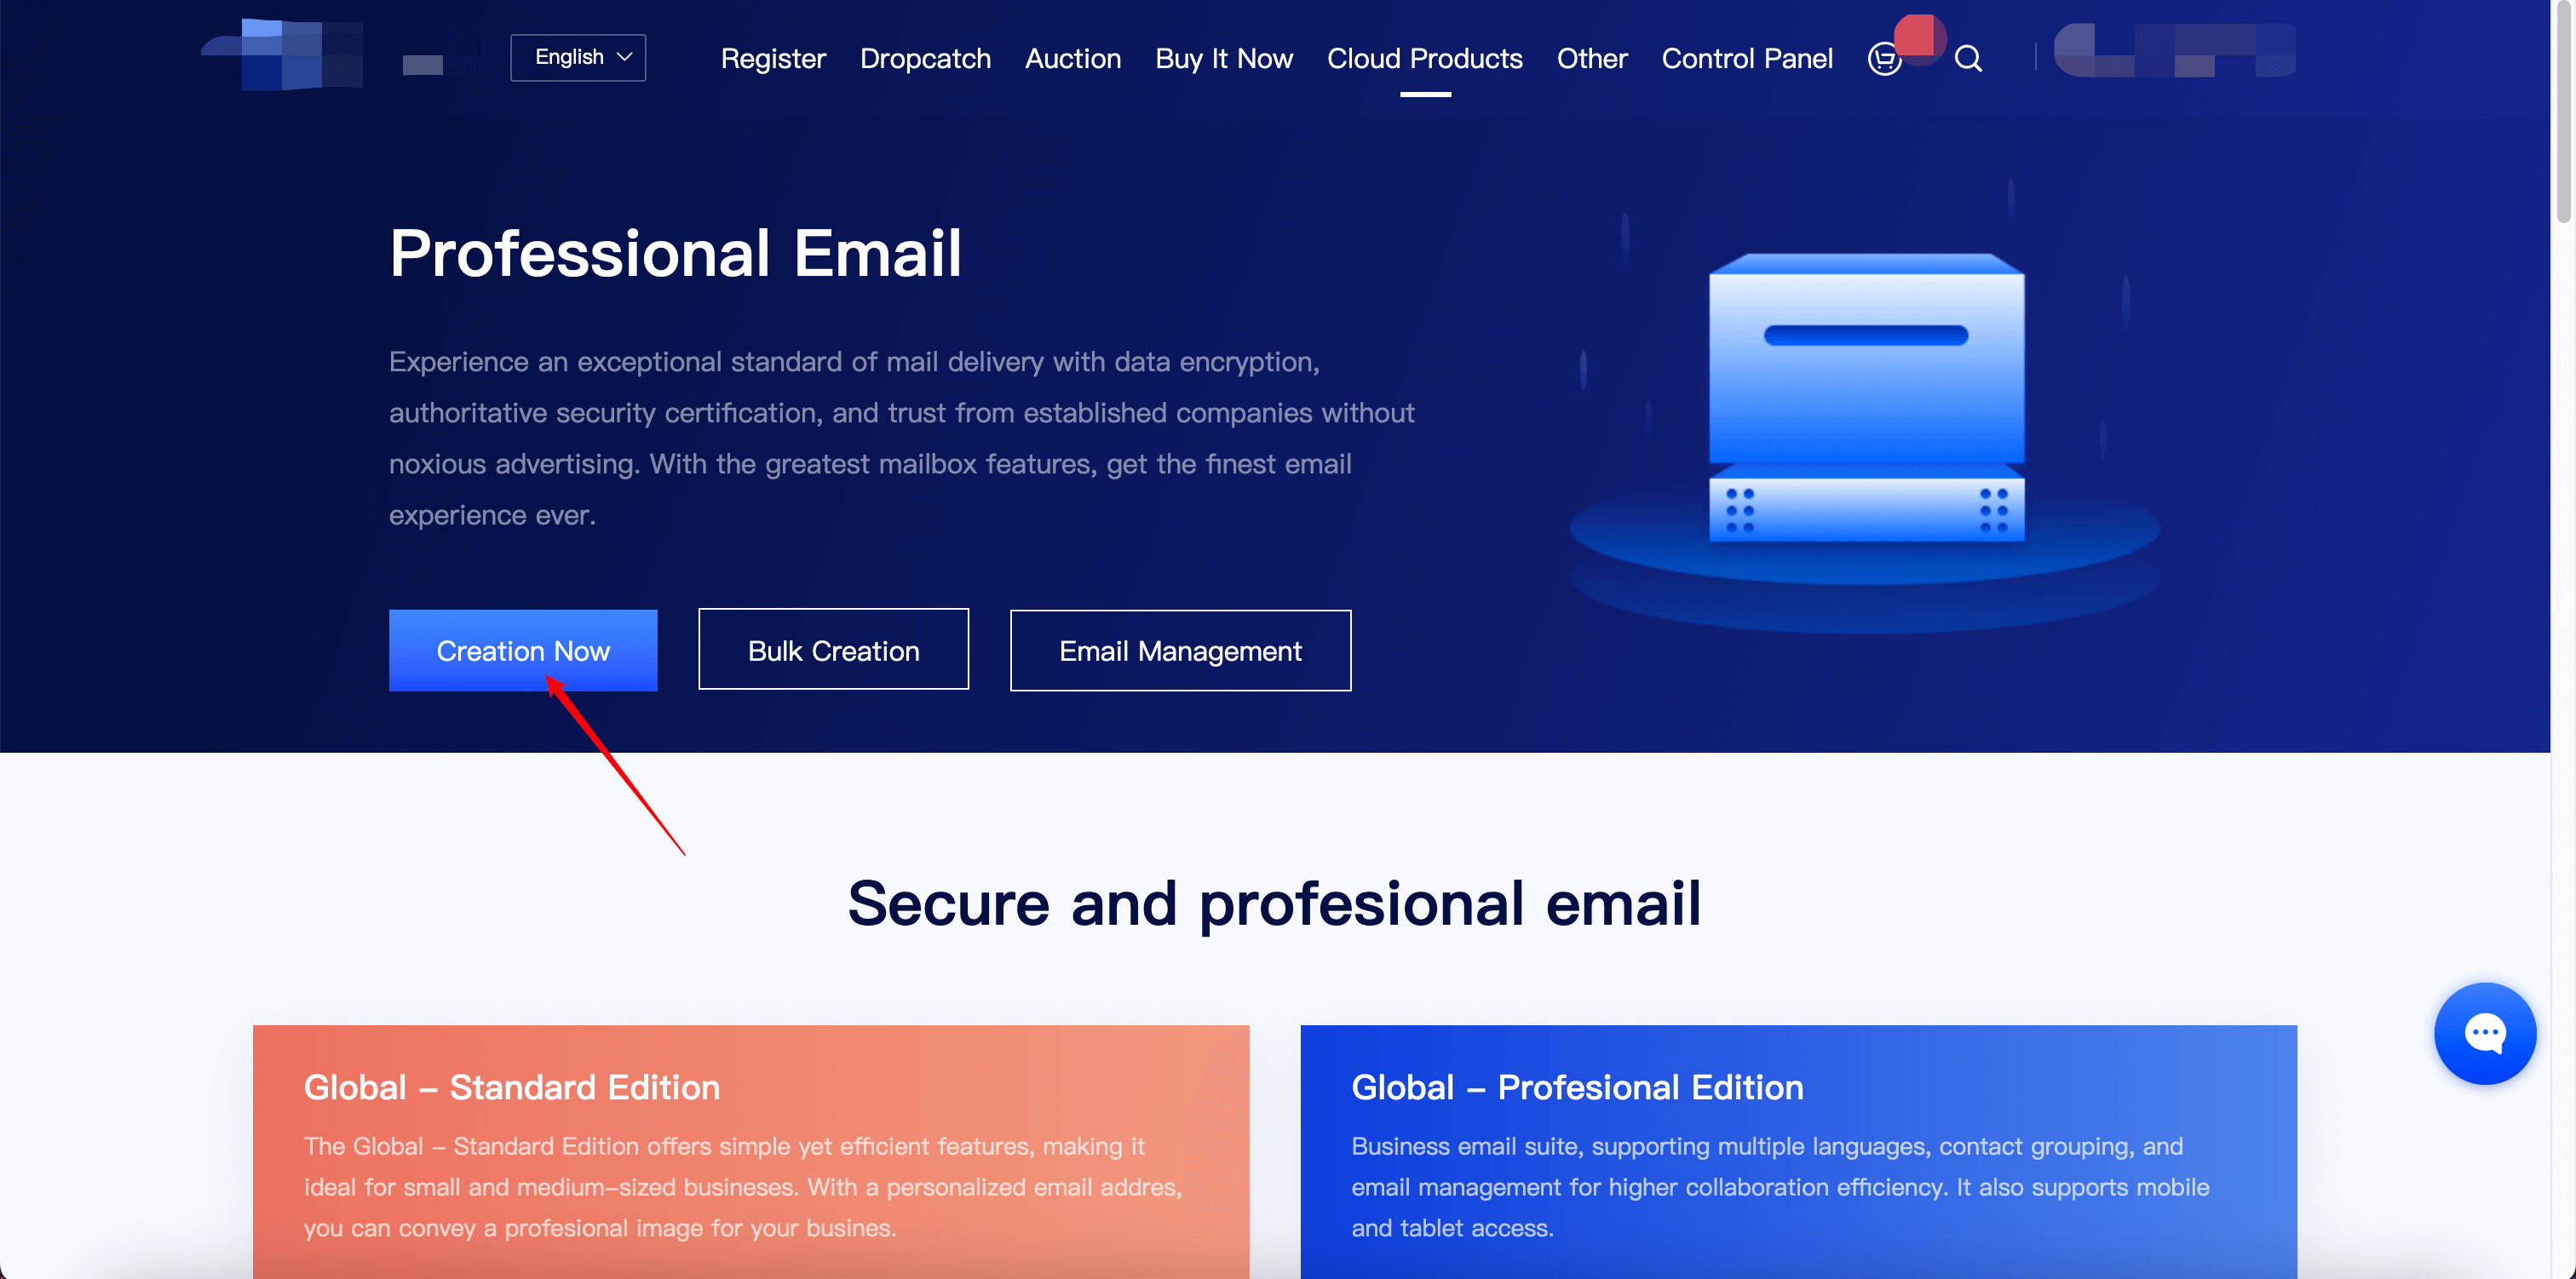
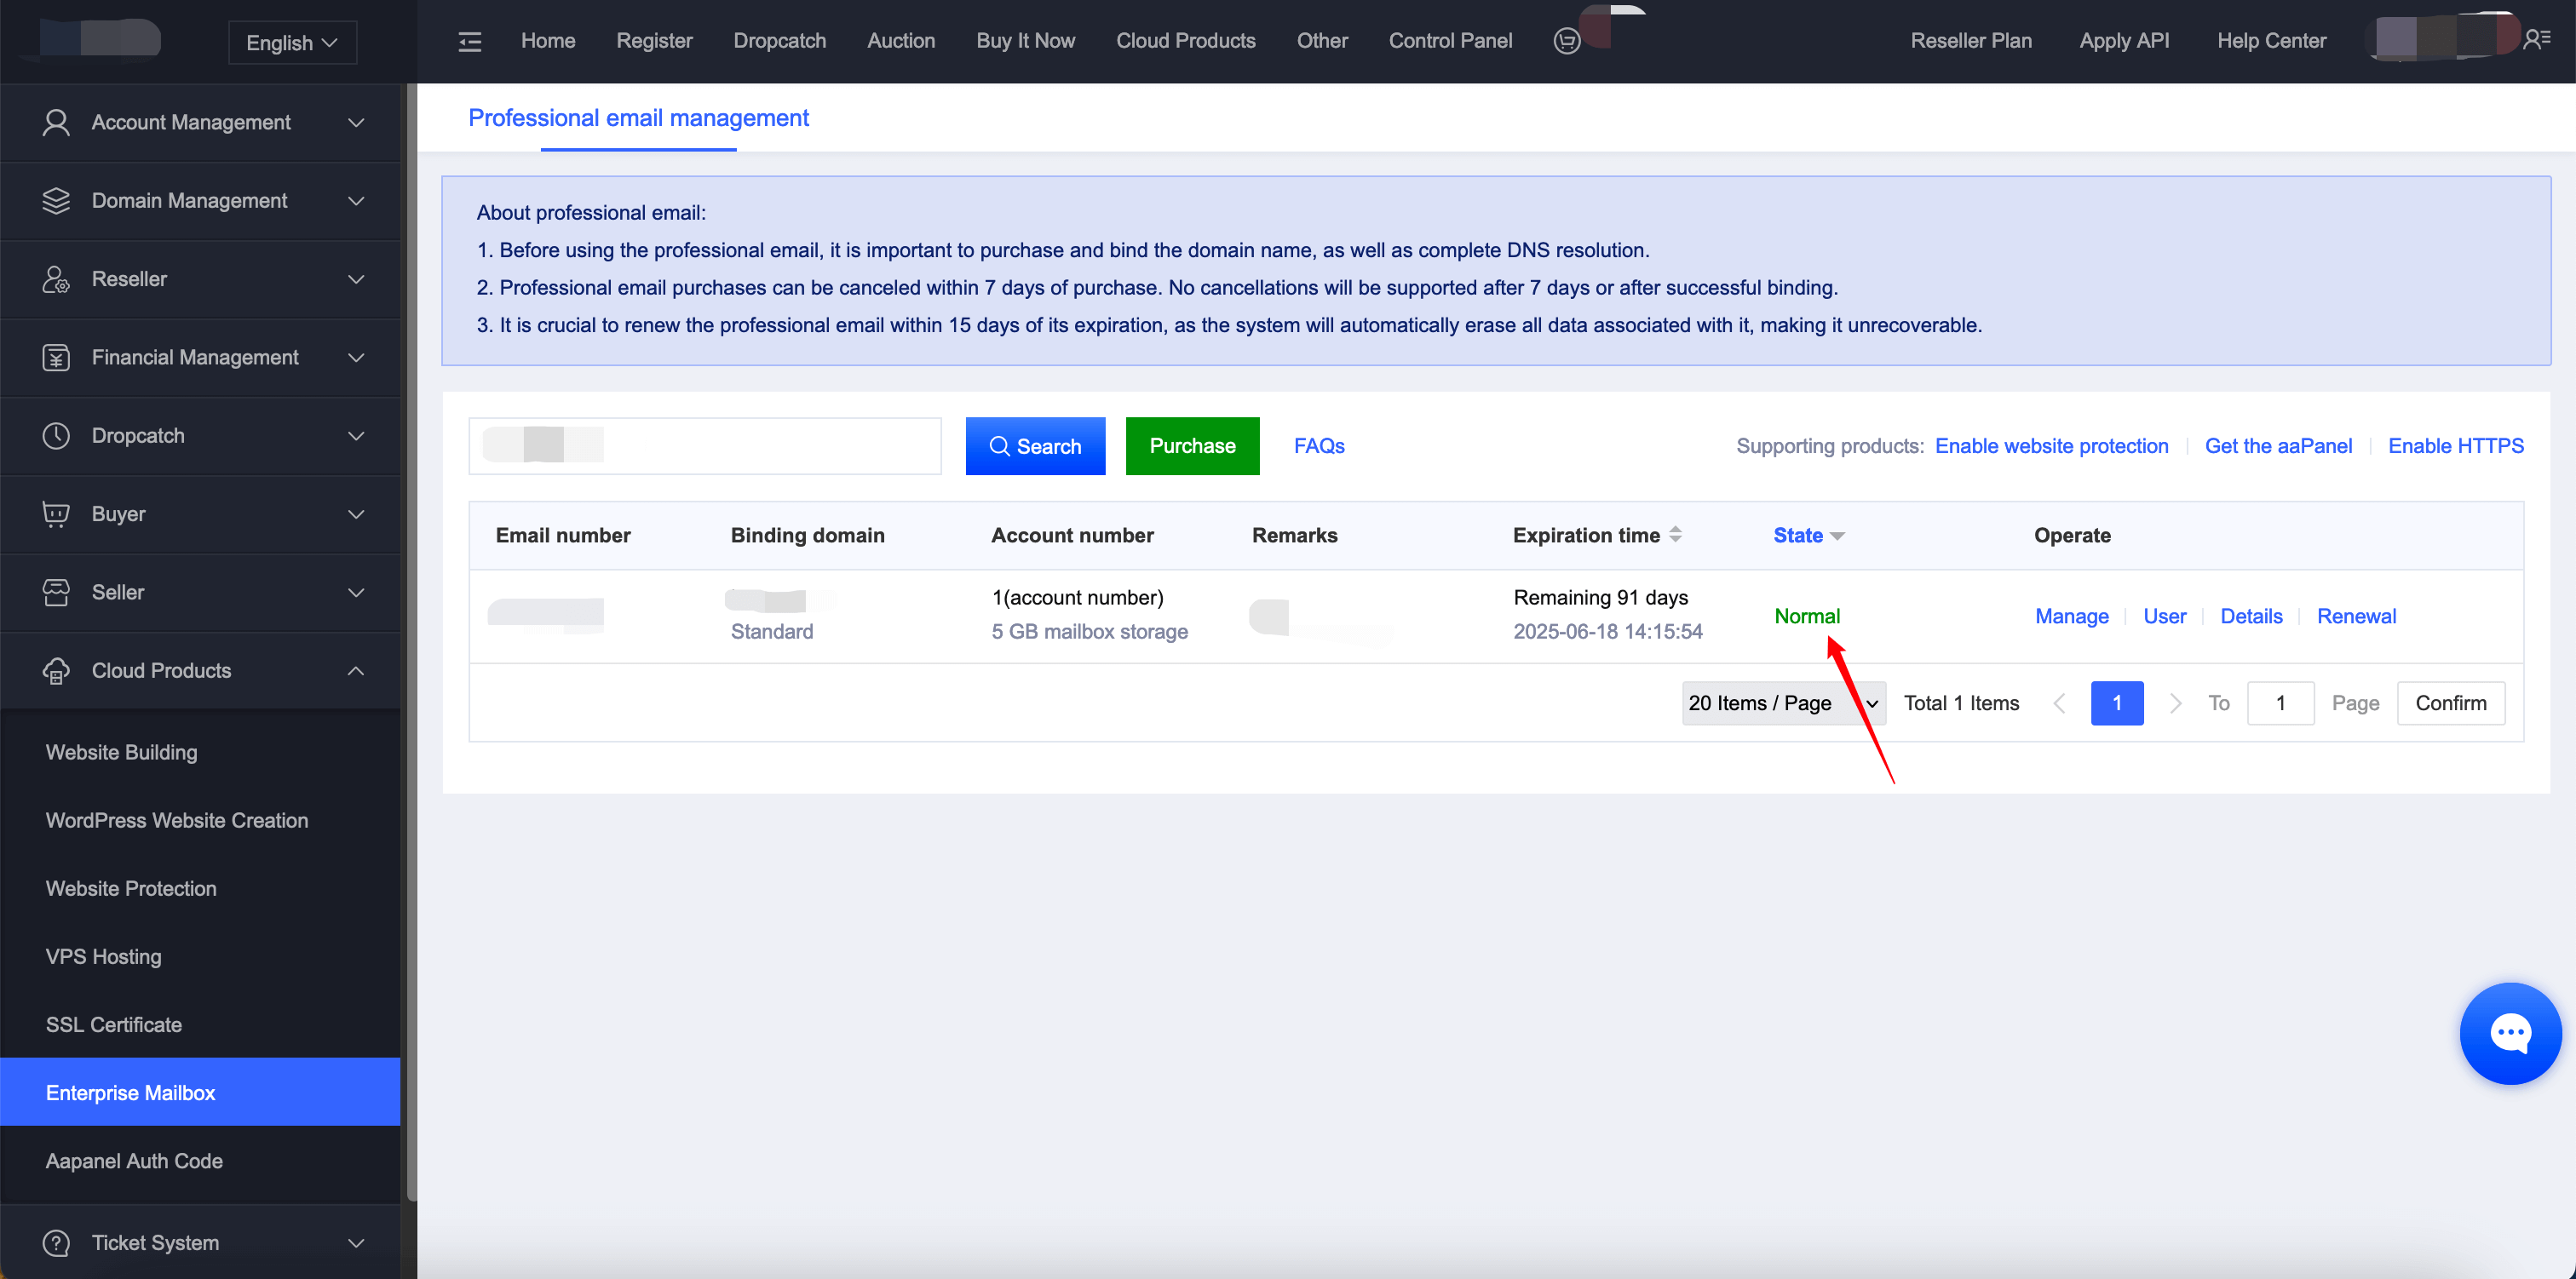
A. Click "Create Now" to enter the purchase page and select the type of professional email you wish to buy.
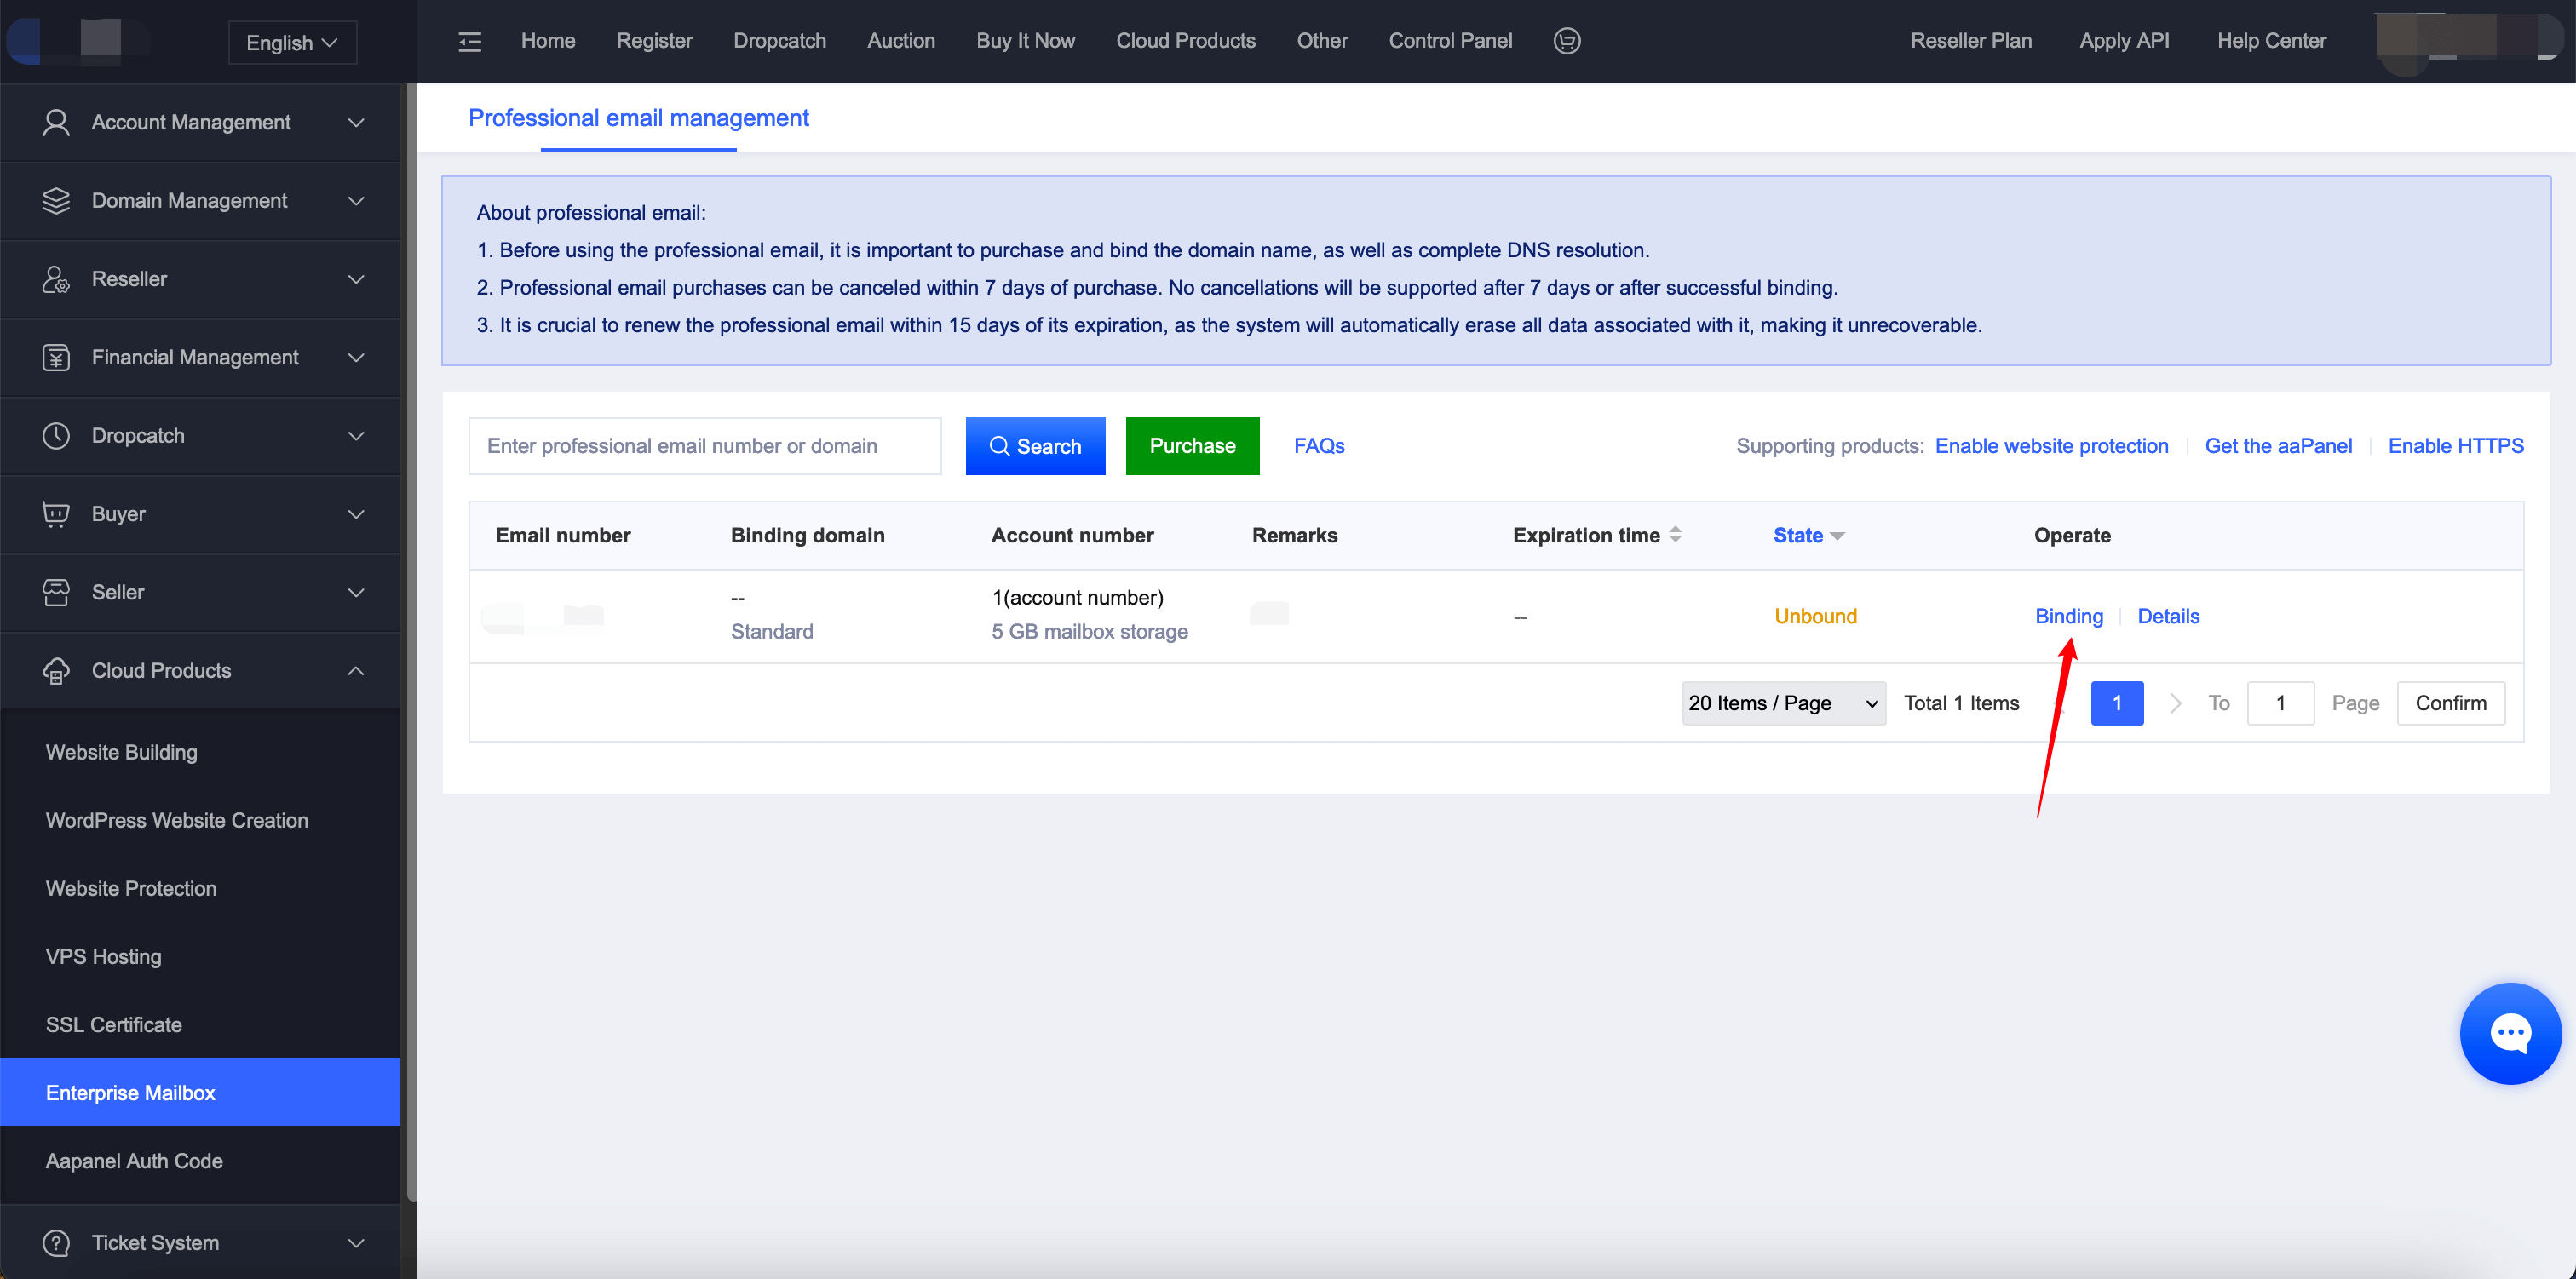
B. After completing the purchase, go to the professional email management page and click "Bind Domain" to bind your domain.
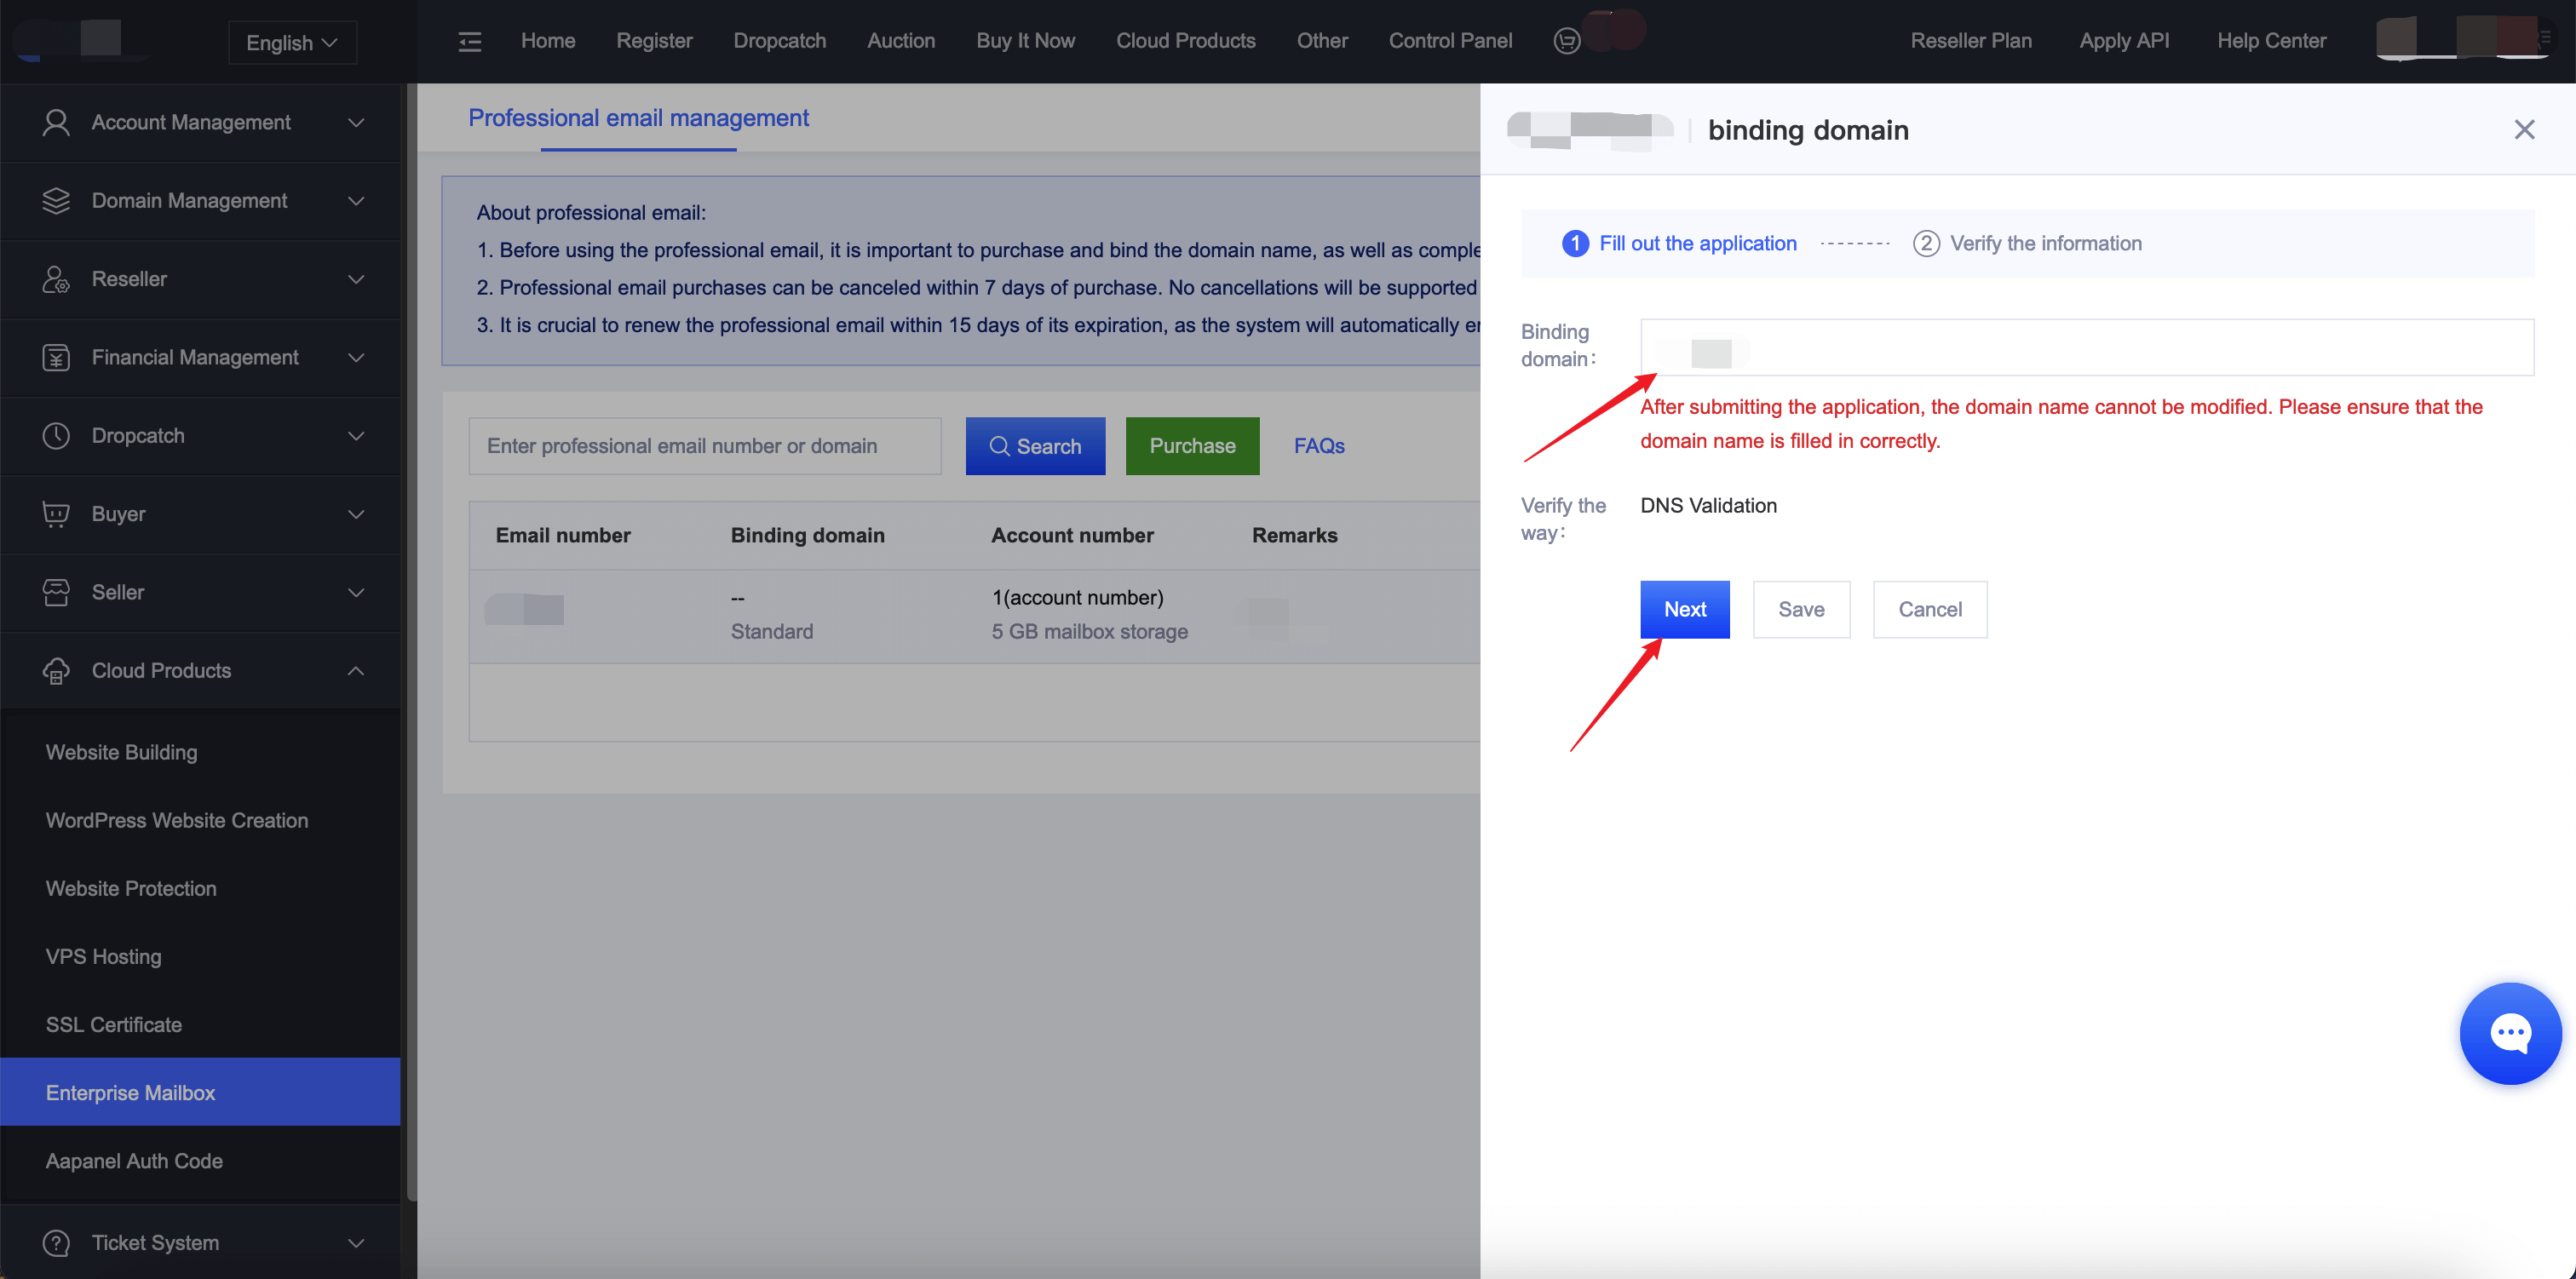
C. Enter the domain name you want to use for the email in the input box and click "Next".
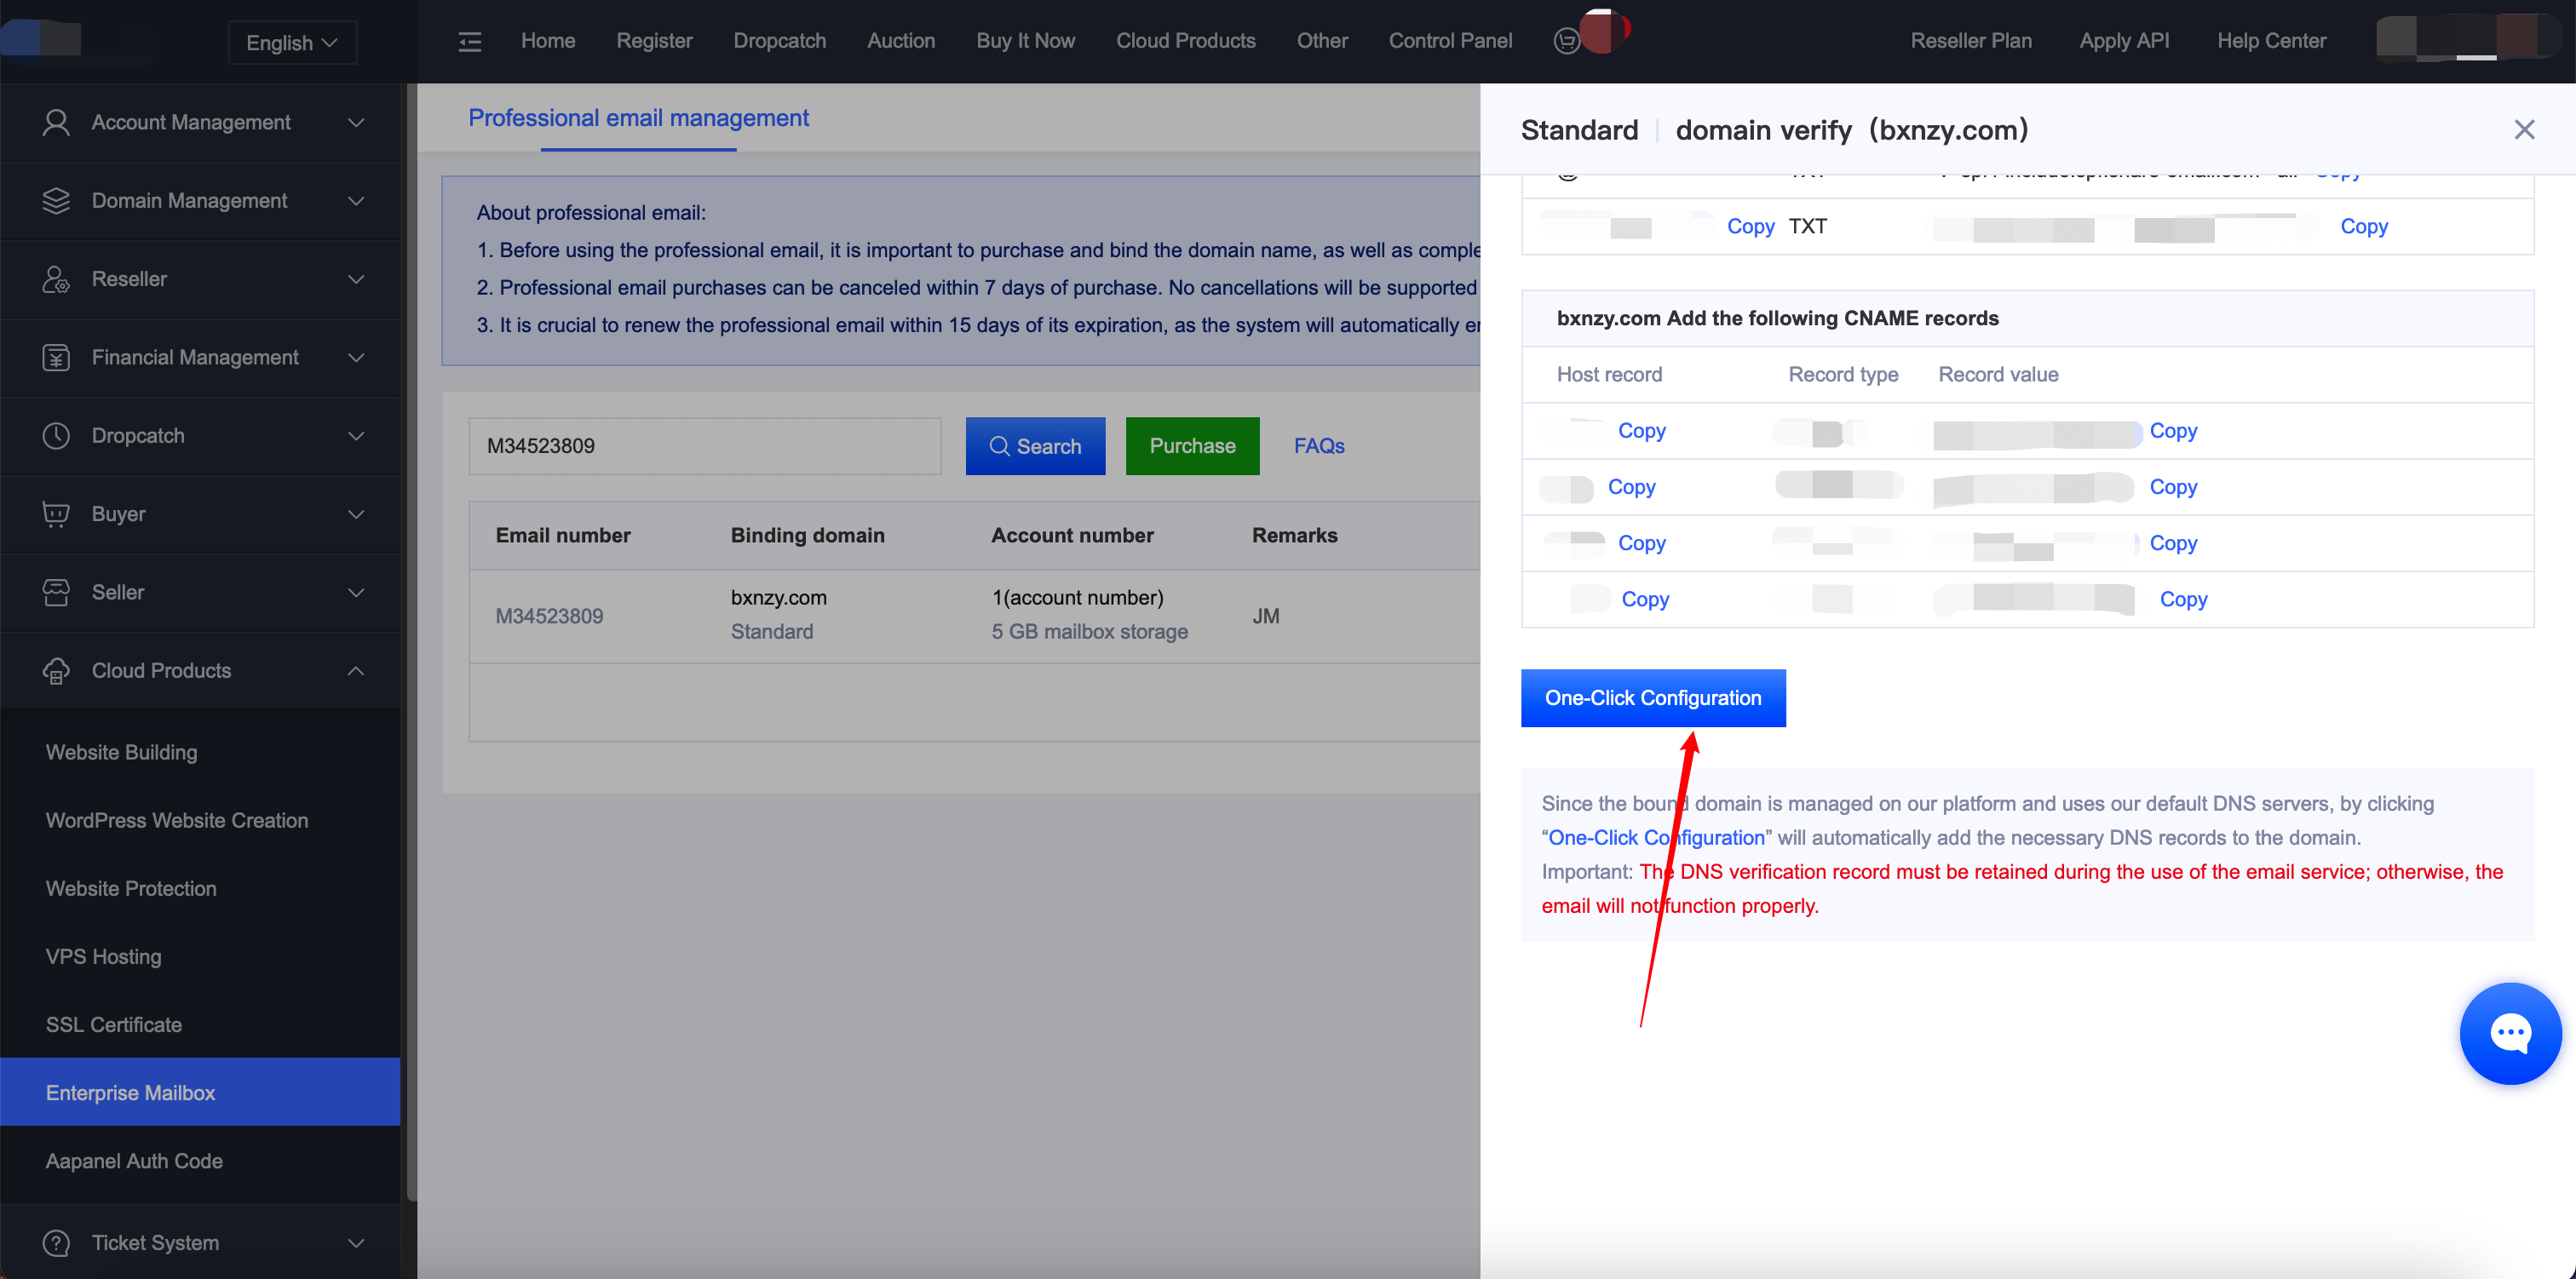
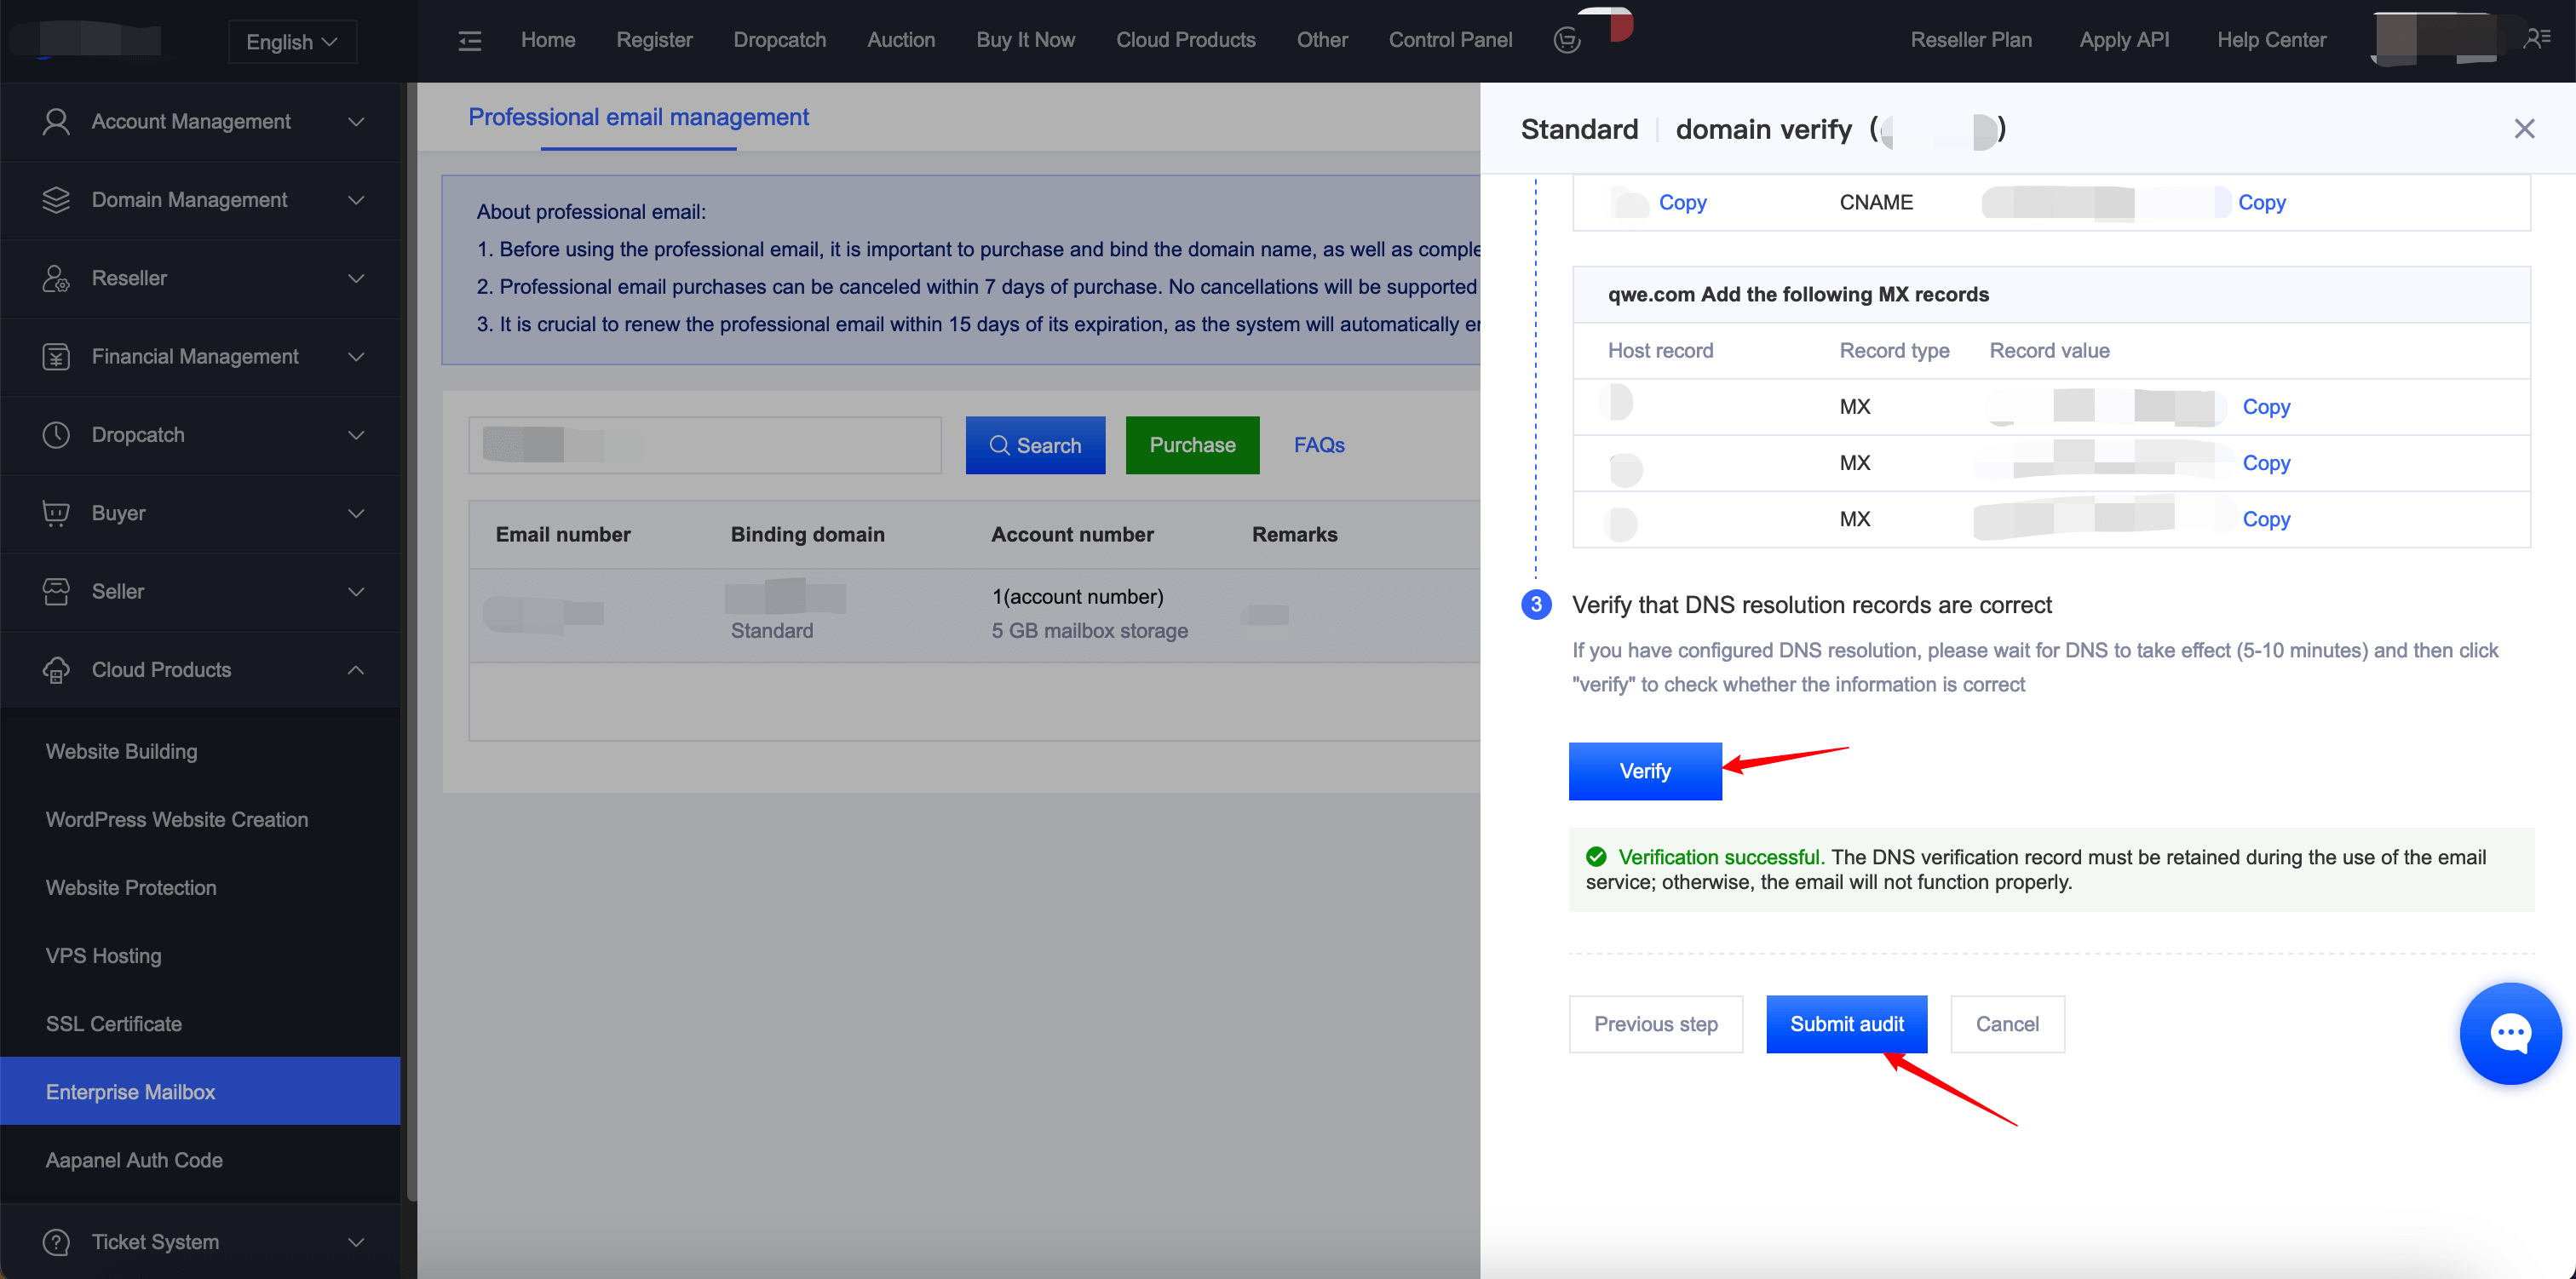
D. On the domain verification page, click "One-Click Configuration." Once DNS verification is successful, you can start using the service.
E. If your domain is managed with us but is not using our default DNS server, or if the domain is managed by another provider, you will need to manually add DNS records in the corresponding domain management panel. Once DNS verification is successful, the service can be used.
Method 2:
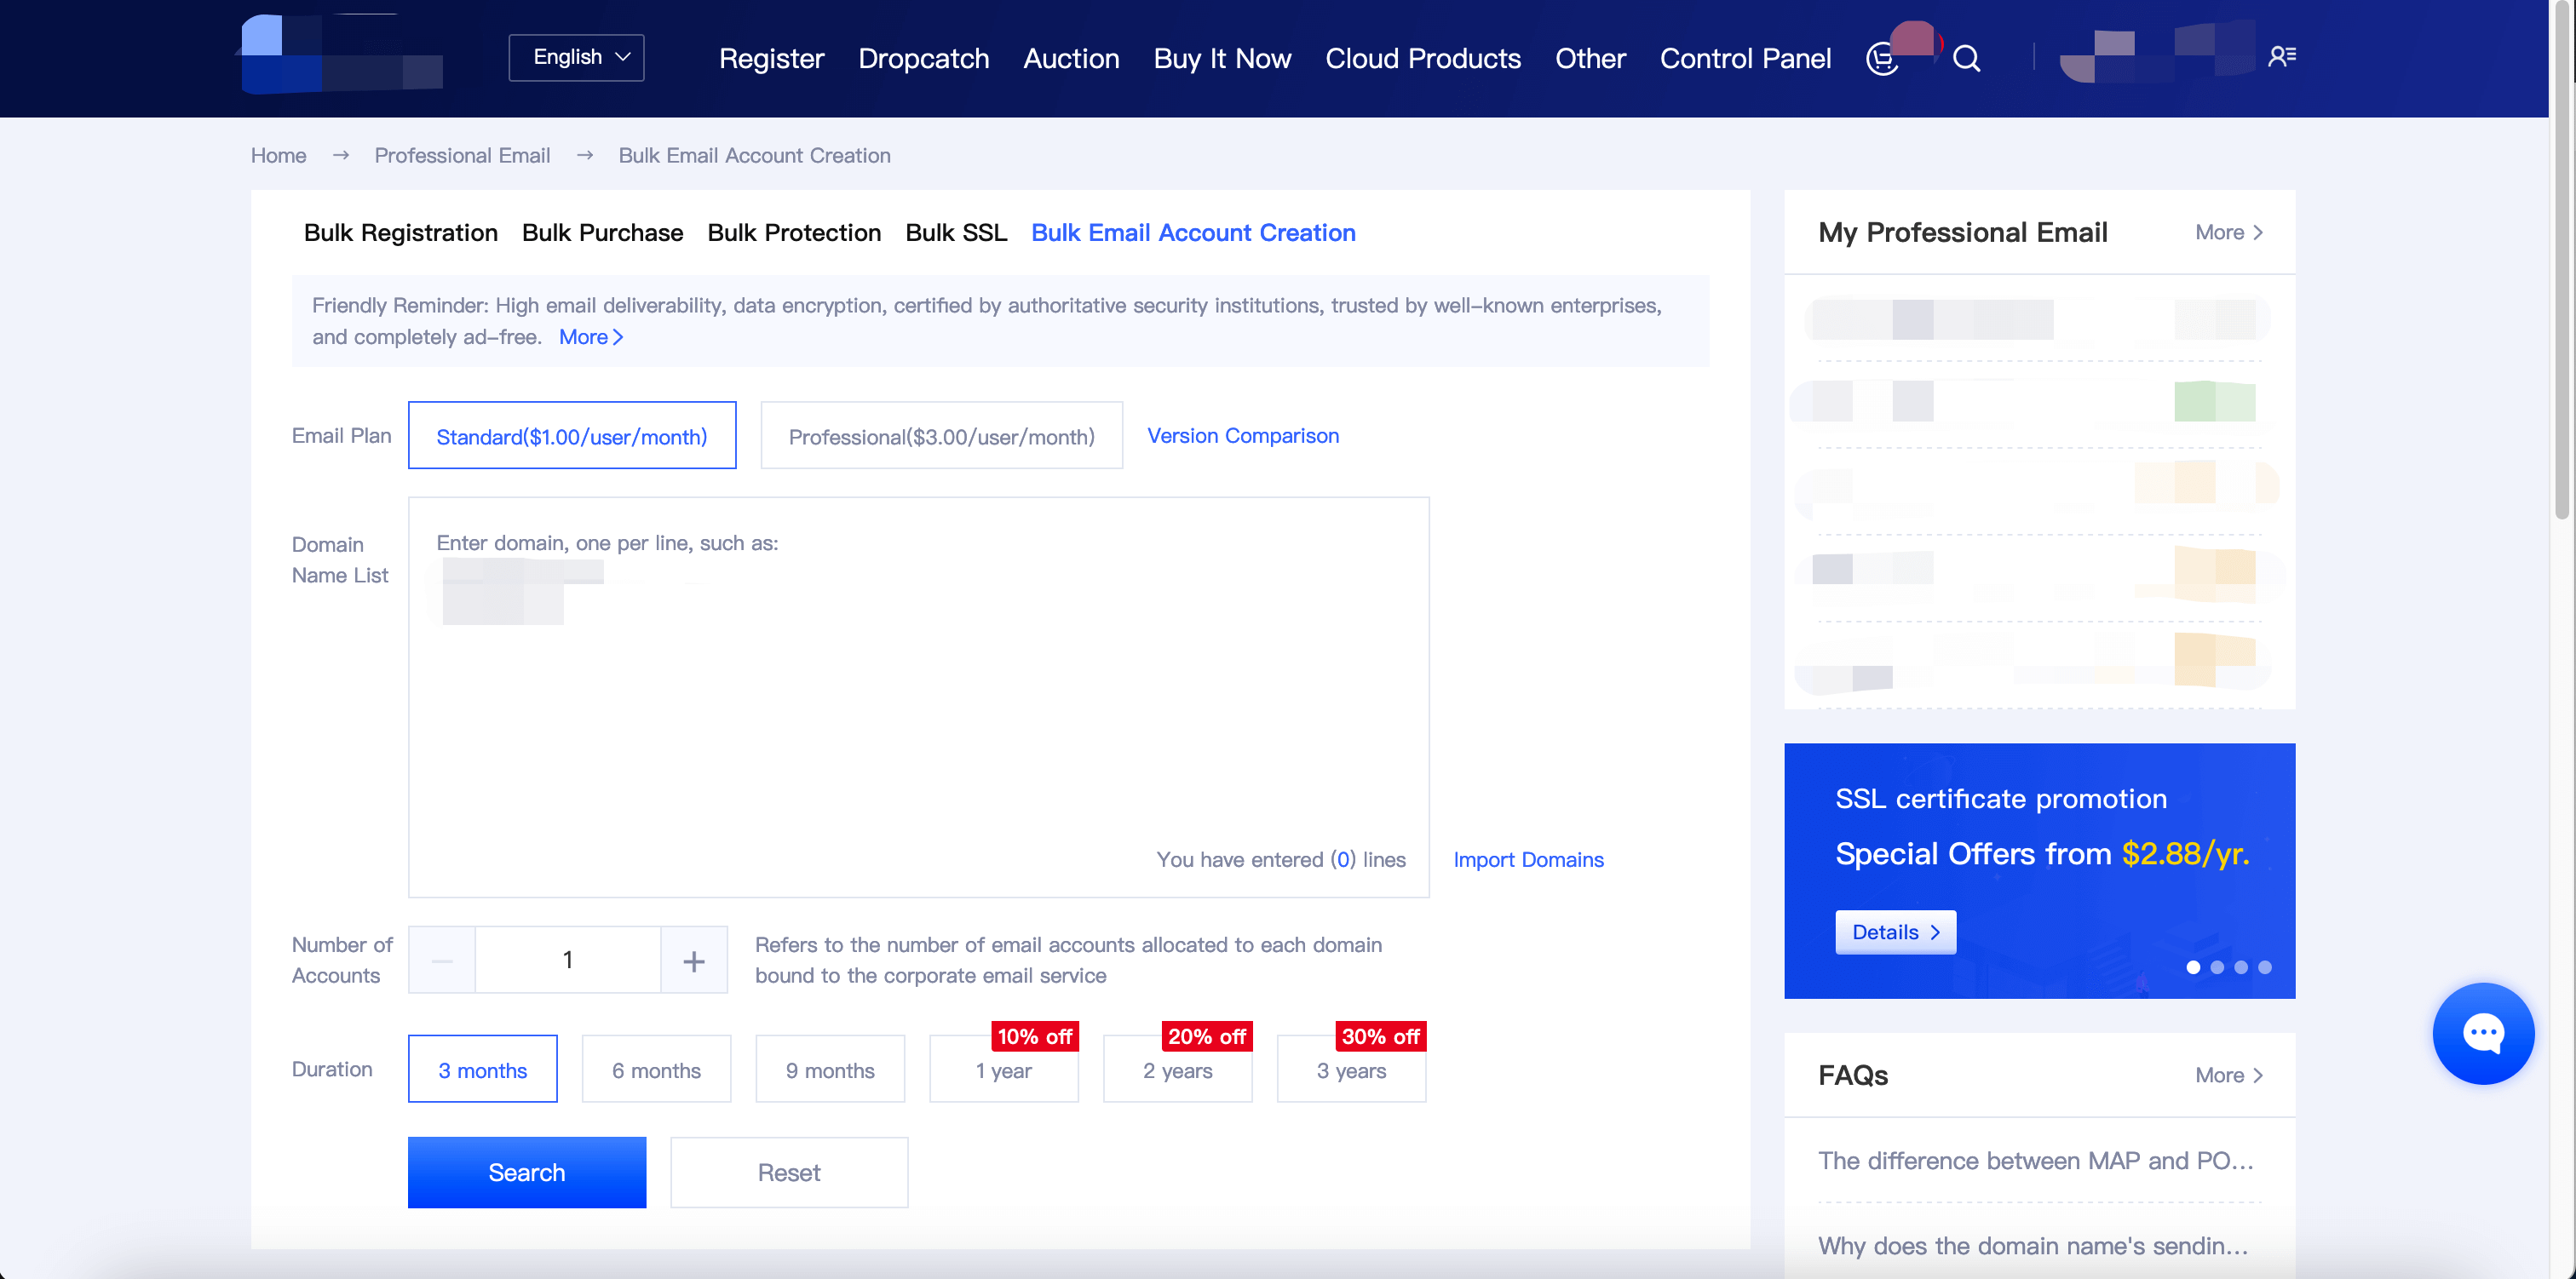
A. Click "Bulk Creation" to enter the bulk creation page.

B. On the bulk creation page, enter the domain name you want to use, specify the number of accounts and the purchase duration, then click "Search" In the search results, click "Create Now" or "Bulk Creation".
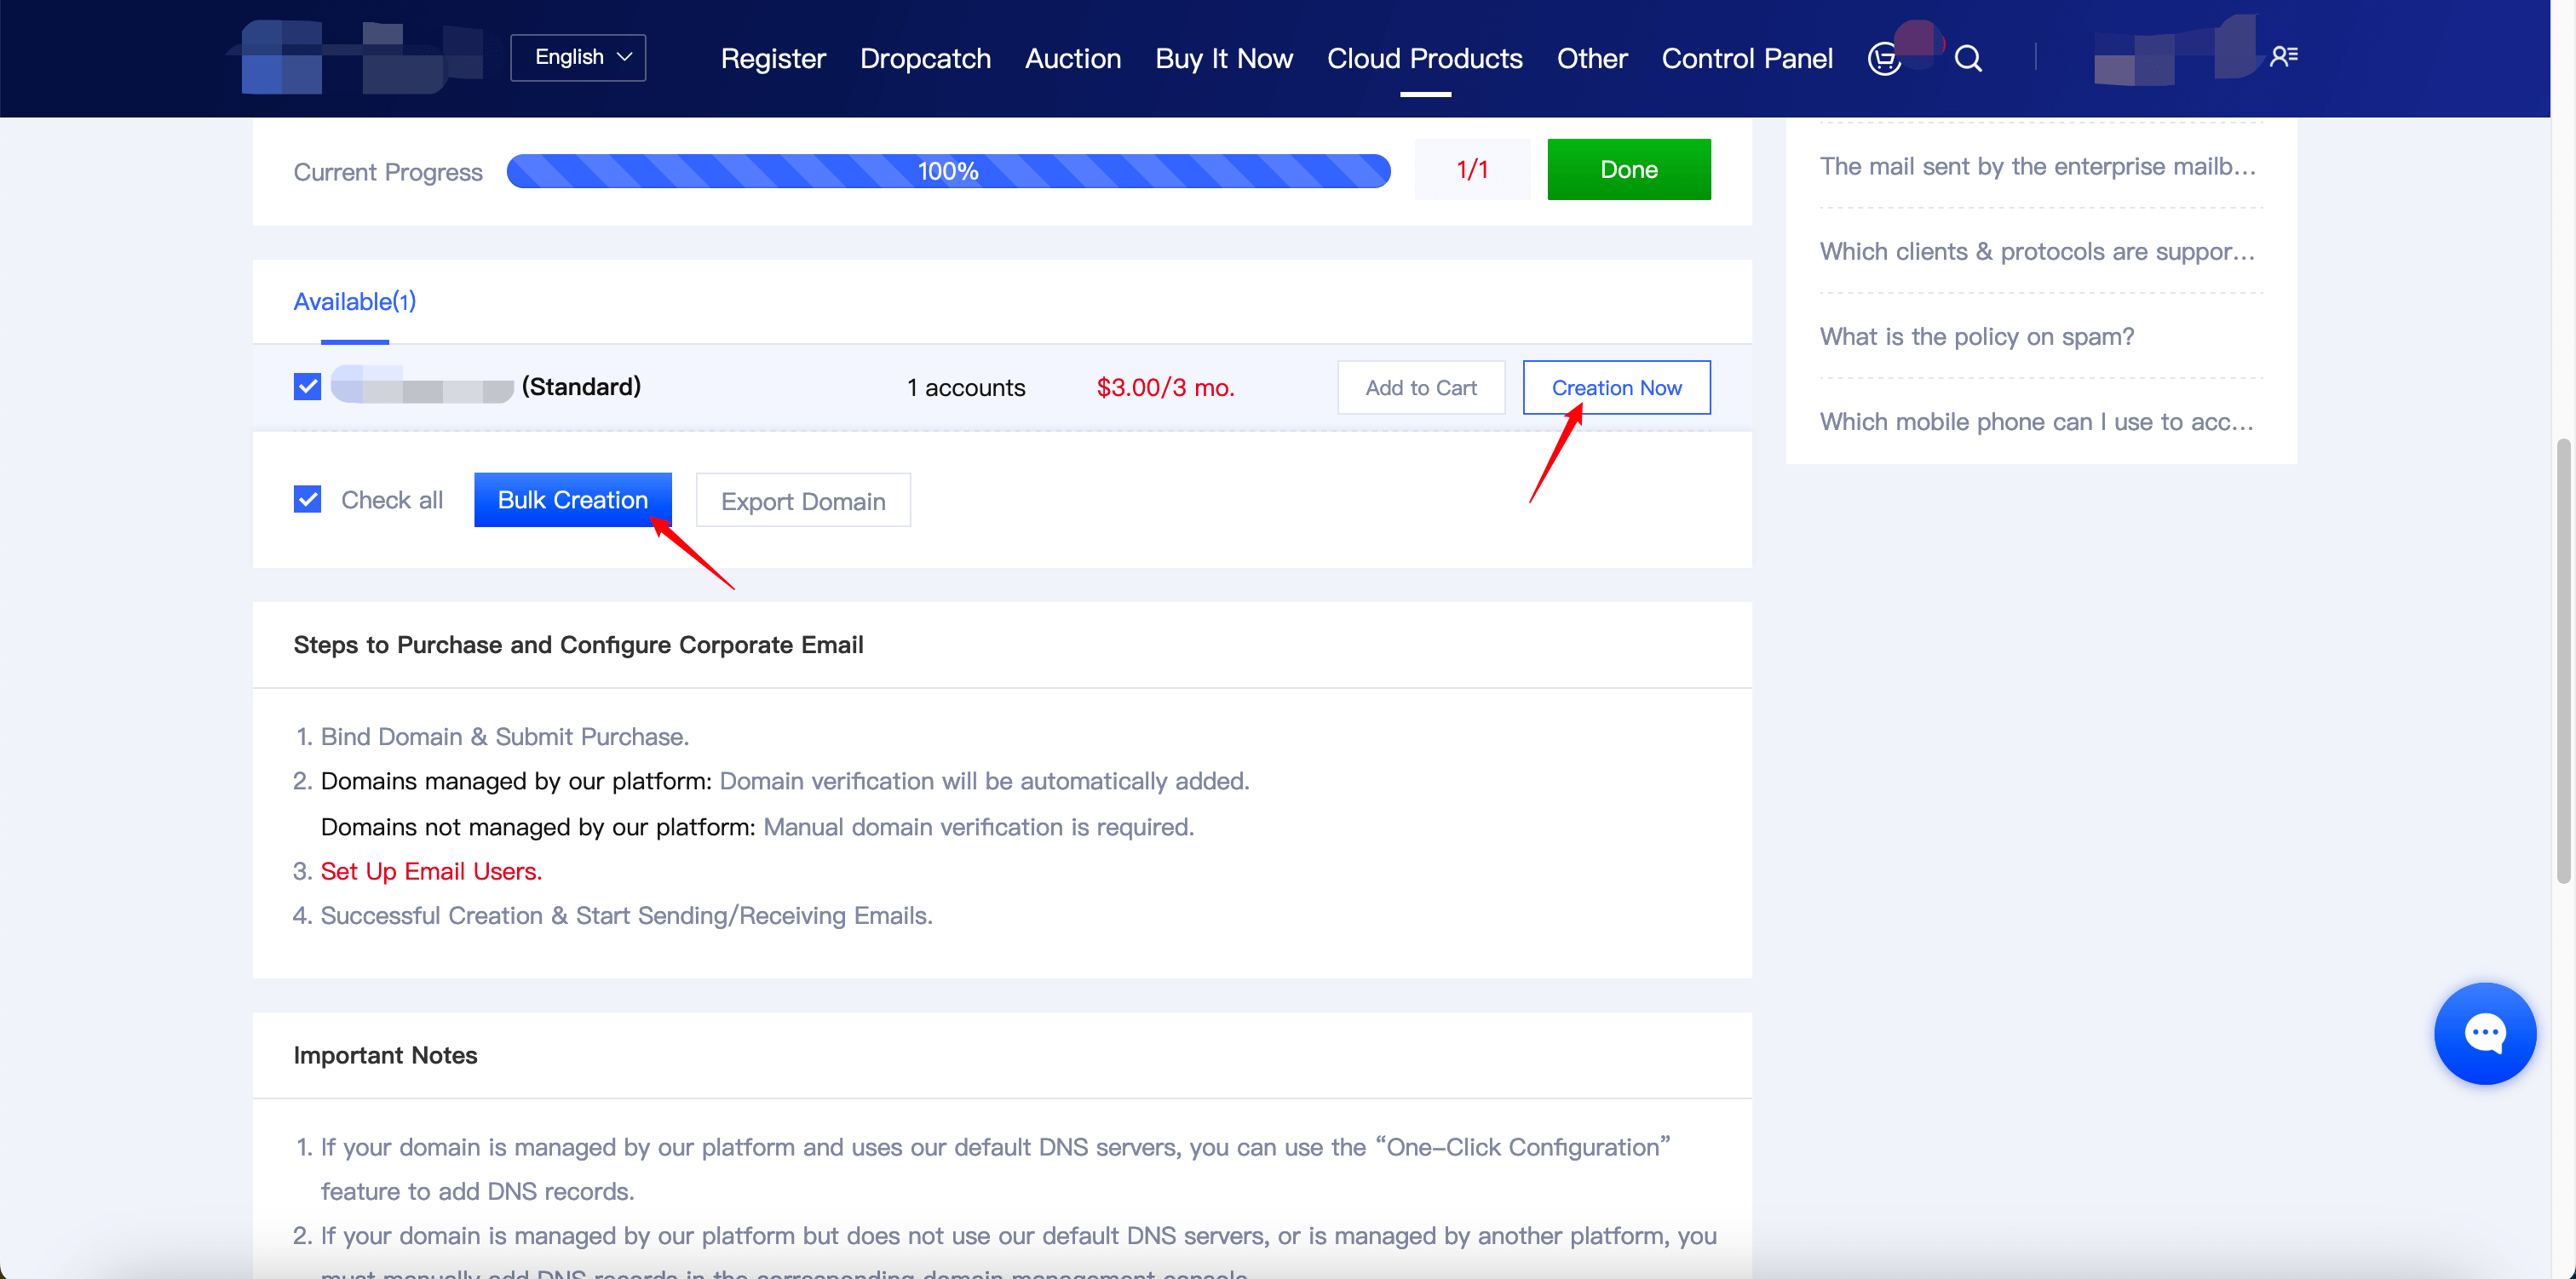
C. After completing the purchase, go to the business email management page. The currently created email DNS has been automatically added and verified successfully, and can be used normally.
D. If your domain is managed with us but is not using our default DNS server, or if the domain is managed by another provider, you will need to manually add DNS records in the corresponding domain management panel. Once DNS verification is successful, you can start using the service.
Thank you for your support! If you have any questions, feel free to contact our online customer service!


 supports the following regional currency settlement:
AlipayHK (Hong Kong, China): Supports HKD Settlement
TNG eWallet (Malaysia): Supports MYR Settlement
GCash Pay (Philippines): Supports PHP Settlement
DANA Pay (Indonesia): Supports IDR Settlement
Kakao Pay (South Korea): Supports KRW Settlement
TrueMoney (Thailand): Supports THB Settlement
Rabbit LINE Pay (Thailand): Supports THB Settlement")